NetGain Micro 880
Edited 9/20/2024
NetGain is now offering a series of high performance motors in the 5kW to 35kW range (10 kW continuous). This size motor may be ideal for the power train of light to mid-weight off road vehicles. A 880 test motor with different shafts was obtained from NetGain and an overview of the mechanical aspects of the motor are outlined below.
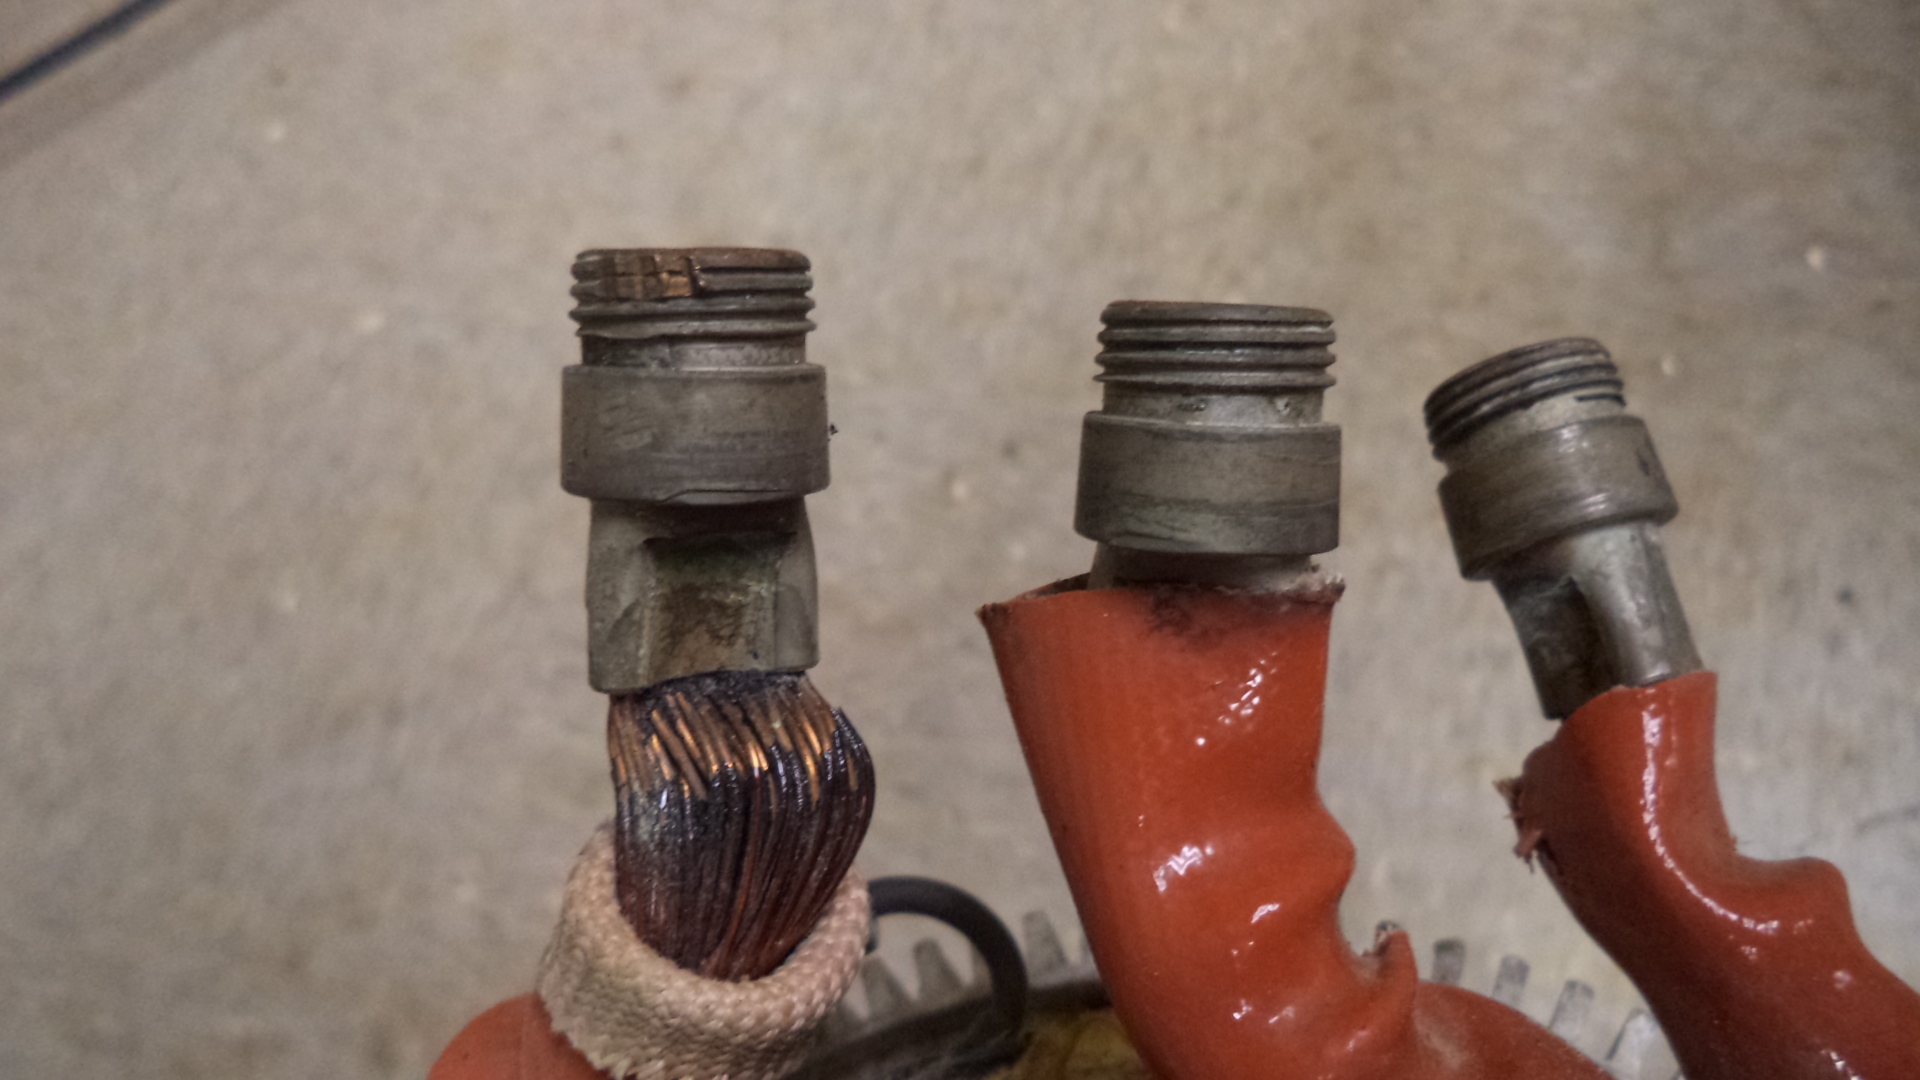
The NetGain Micro 880 system includes a 3-phase brushless motor that can operate from a DC power supply between 24 V and 180 volts. The suggested inverter pairing depends upon the application, but the following are suggested by NetGain.
X48600 for High Torque and Low Speed
X125 for Low Torque and High Speed
X1 for Maximum Torque and High Speed
X144 for High Torque and Maximum Speed (This is the same controller (inverter) employed in this 1992 BMW 325i blog.)

DSC02422 showing the NetGain Micro 880 fresh out of the box. Note the four mounting holes on the face of the housing.

DSC02424 Comparison of the NetGain Micro 880 (40 pounds and on the left) and the NetGain Hyper9 that is used in this BMW 325i blog (130 pounds and on the right). The Hyper9 is shown supported using the bottom half of the available motor mount. Both motors can use the same NetGain SME AC-X1 Inverter.

DSC02406 Motor and shaft (shown) Part number IMP193-M881, for the motor and 1.125" shaft diameter, 1.50" length forged shaft (shown) with 0.25" keyway. The right side installs into the motor face.

DSC02425 Showing additionally available shafts.
(left) Part number IMP193-M882, for the motor and 24mm diameter shaft (shown) with 8 mm keyway
(middle) Part number IMP193-M885, for the motor and 9T spline (shown)
(right) Part number IMP193-M883, for the motor and 13T spline (shown)