Made
some progress this week regarding adapter plates, etc. Received a return call from Mike Brown in
California late in the week, and upon inquiry, he indicated that he had not yet received the
drawing that I sent by certified mail to his post office box the previous week, so hopefully, he will be able to
recover it sometime soon and see if my bell housing looks familiar to him.
Another
EV company located in Florida was brought to my attention by a fellow EVer this last week. The web page is rebirthauto.com, and they
list EV supplies as well as BMW adapter plates!! They list a telephone number (727.821.9736 ), but the “contact
us” button on their web page was what resulted in a quick reply. Pictures and drawings were sent to Steve
Messerschmidt (steve@rebirthauto.com) and Steve indicated by
email that he would try and reply to our inquiry early next week.
We
also received a very polite reply to the inquiry that we sent to Canadian
Electric Vehicles Ltd. ( www.canev.com ) in which Randy
Holmquist (randy@canev.com) informed us that they do not offer any BMW adapters.
Tonight the
project focused on the removal of the AC lines. The second phase of the build will hopefully include a
functioning Air Conditioner, but for now, the hoses, mounting brackets etc. are
in the way and might be damaged while the project is underway. Previously, before disconnecting the AC
compressor, I confirmed (using the AC Schroeder valve and a pressure gauge)
that there was no residual Freon pressure.
Note: One must always recover the Freon to avoid fines, protect the
Earth, and stay out of the Gulag.
Removal of
the pair of lines stalled when one of the 6 mm cap head bolts could not be
removed. It would have been helpful to
have noticed that I was using non metric hex wrenches. Correcting that, finally used Plan B, which should have been the
original plan, and removed the single 6 mm cap head bolt located on the
firewall (12 " extension a must), followed by easing out the 3" x 3” pass thru rubber grommet on interior sheet metal, and both lines
came out smoothly.
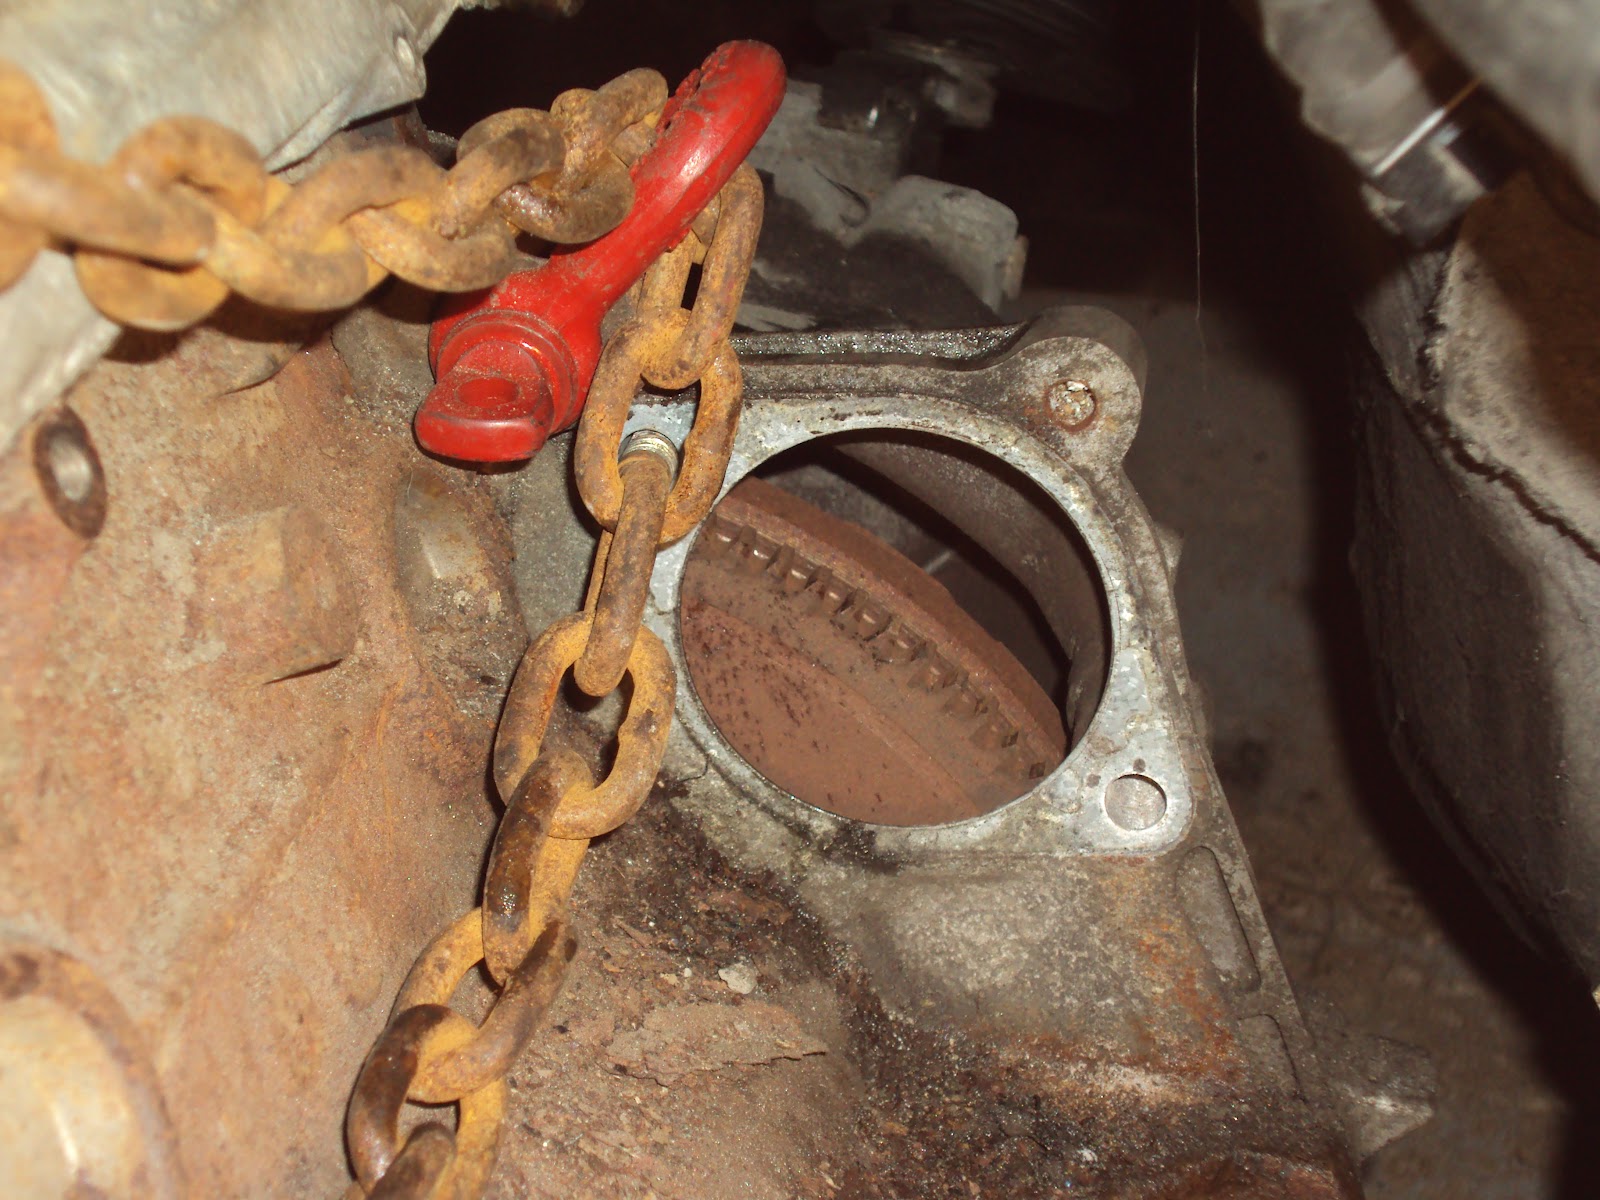
Picture 4660
– shows bulkhead, upper right is entry into cabin, lower left is after removal of the pass thru rubber grommet
Removed one
cap bolt on top of the Receiver/Dryer and the pipes were free at last.
Picture 4654
– shows disconnected AC lines after disconnecting from bulkhead and prior to removal
Placed duct
tape over the inlet on the Receiver/Dryer for dirt exclusion and reinstalled the cap head bolts at
each fixture so that they can be found in the future.
Labeling is
a total pain, but I am confident that each five minutes spent labeling, will
eventually save me an hour, and a lot of hair, which is in short supply. What is
needed is some type of plastic/metal tie-off label that has legible numbers embossed directly
into the label. Cleaning water or oil
would not be able to destroy the markings, and a master list could then correlate the tag
to the function/location. I must find
these.
I cleaned
the rack and pinion assembly using a wire brush and putty knife. Don’t ask.
I will power wash the whole engine compartment after I solve the label
problem and after I tie off each electrical fixture with plastic bags. To the driver side engine mount was attached a metal extension that spanned the steering column and then bolted to the ICE. Multiple applications of penetrating oil and whacking with a hammer did not release the extension from the mount, so, I had to get Medieval on it and used enough twist and pull, that the top portion of the rubber tore free. Need to add this part to the need to replace list.
Picture 4662
– shows partially cleaned rack and pinion. Note the intact engine mount on the left, and the decapitated mount on the right.
Builders
Note: Two pairs of wires attach to the sensor on top of the
receiver/dryer. White plug, Brown to
Brown, Black to Black. Black plug: Blue
to Red/Black (receiver side), and Yellow/Blue to Black (receiver side). Must remove the metal “C” clip from each
plug to allow removal of the long connector wire.
After 4 hr 45 min, finally went to be at 1:45 am.