
Picture DSC02190 front view of the damaged M6 stud (upper right). This welding stud sheared off during removal of the grill nose panel and bumper. This structural element appears to be called the "left engine support" and the BMW dealership indicates that to repair the stud requires the purchase of the entire support! The left engine support is part # 3 at : http://www.realoem.com/bmw/enUS/showparts?id=CB33-USA-08-1992-E36-BMW-325i&diagId=41_0043 .

Picture DSC02193 rear view of the left engine support showing the wide stud heads
.

Picture DSC03921 of the opening created after the stud popped out during the attempt to drill and tap an M6 hole. If the process had been successful, it was hoped to thread in an M6 bolt and then weld the bolt head to the engine support. If any reader knows where these welding studs can be obtained, please leave a comment or send an email if you are willing to share the information. The hole did accommodate the use of a M8 x 30 mm bolt along with a backing washer and nut. Unlike the welding stud, this solution requires the use of two wrenches when attaching the front bumper.

Picture DSC03922 showing the serrated edge of the BMW welding stud after it was dislodged from the frame (D = 8.10 mm). This picture is of the base of the stud after the broken stud was cut off and knocked out of the chassis. The head of the BMW welding stud is 0.55" (13.90 mm) at its widest point (left to right in above picture), and the serrated area that passes through the sheet metal is 0.317" (8.05 mm) diameter. The BMW stud head is 0.1185" (3.01 mm) thick (top to bottom in above picture) and the serrated area contributes an additional 2 mm of height.
Another option would be to repair the original stud by drilling and tapping an M6 threaded hole that would then accommodate a 30 mm stud (or bolt). The stud would then be welded to the tapped head and the repaired "welding stud" then pressed back into the engine support.

Picture DSC04097 of the drilled and tapped head of the BMW welding stud.

Picture DSC04096 of the back side of the welding stud base after the paint had been removed with a wire brush. The markings seem to indicate "ABC 8.8".

Picture DSC04100 of the front view of the assembled "repaired" welding stud prior to trial fitting it in the car.
An alternative solution was created by David in which he used his lathe to machine an M6 1.0 x 30 bolt so that the head was reduced in height and a collar was created. The collar section can then be pressed into the opening on the engine support.

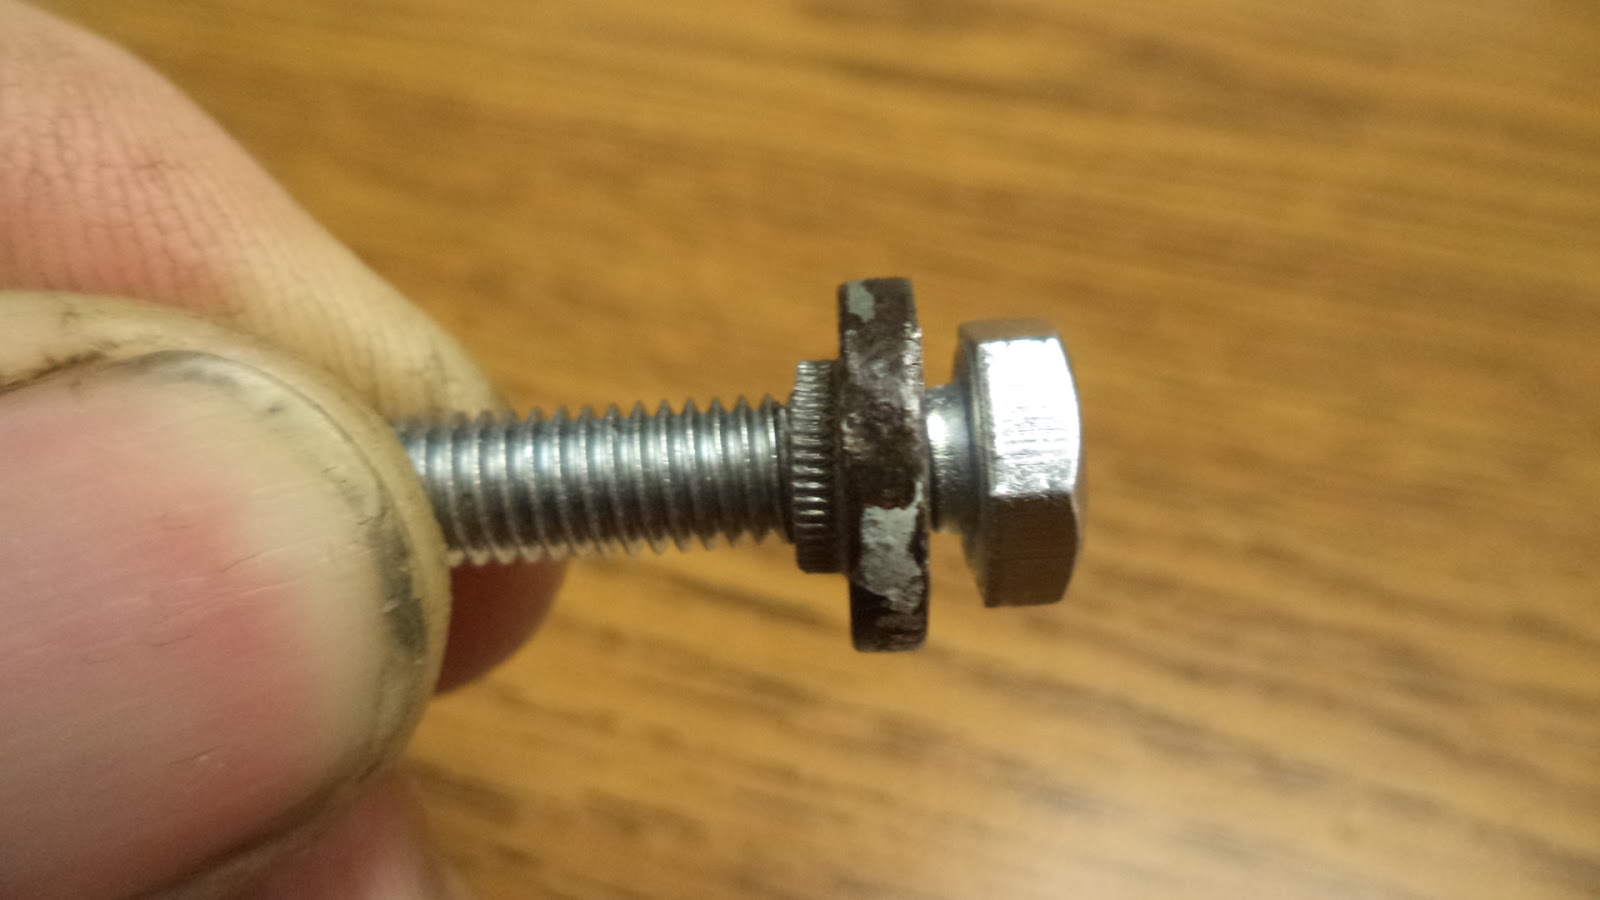
Picture DSC03999 side view of David's machined "welding stud" that he made from a M6 1.0 x 30 bolt. One half of the head height was turned down to a diameter of 0.302". This diameter can then be press fit into the engine support followed by welding the head to the engine support. The head was also rounded to remove the original hex points and produce an outer diameter of 9.77 mm.

Picture DSC04038 before and after end view of the M6 1.0 x 30 bolt that was converted into a "welding stud".
I have the same problem on my e36 touring. In my particular case, the nut is rounded, and the studs is loose, hence why it can't be removed. Is it possible to purchase a custom status from you guys?
ReplyDeleteDear Jwarrens84:
DeleteI would like to discuss the situation with you. Please send me a telephone number that you can reached at to sales@narchem.com
Sincerely,
William
*custom stud*
ReplyDelete