There is a need to repair some perforating rust in each of the front wheel wells. To weld these areas requires that all plastic and adjacent wiring be removed to prevent collateral damage. To make a careful repair will require easy access to each area, thus, it was finally decided to remove the front end of the car. This is something that should have been done from the very beginning as it would have allowed both easy and ready access to all of the areas of the motor compartment. The time spent for the removal of the front end (9 hours for a first time effort) would easily have been recovered by the time saved during many of the previous process steps and component fittings.

Picture DSC01092 showing the rust damage on the left side wheel well (engine compartment view).

Picture DSC01078 showing the right side rust damage adjacent to the windshield washer fluid reservoir (right wheel well view). The plastic liners for both wheel wells were also removed during the disassembly process.

Picture DSC01060 showing a different (top) view of the rust damage located adjacent and below the windshield washer fluid reservoir. The square outline was caused by a rubber cushion that was attached to the bottom of the plastic washer fluid reservoir.

Picture DSC01075 showing the tagged wires that were initially connected to the right side headlight cluster. As each wire was removed, a tag was attached with a paperclip, and a picture taken showing the connection point and the tag. In the shop a digital camera is an essential part of the build process. Previously there were problems with lost paper tags that either tore off or became illegible from dirt or fluids. All of the wires originate at the left (driver) side in the fuse box area and they route forward to the left headlamps, then across the grill to the right headlamps, and finally they continue backward to the washer fluid reservoir. The entire "snake" of wires was collected and placed on top of the fuse box to get it away from the work zones.
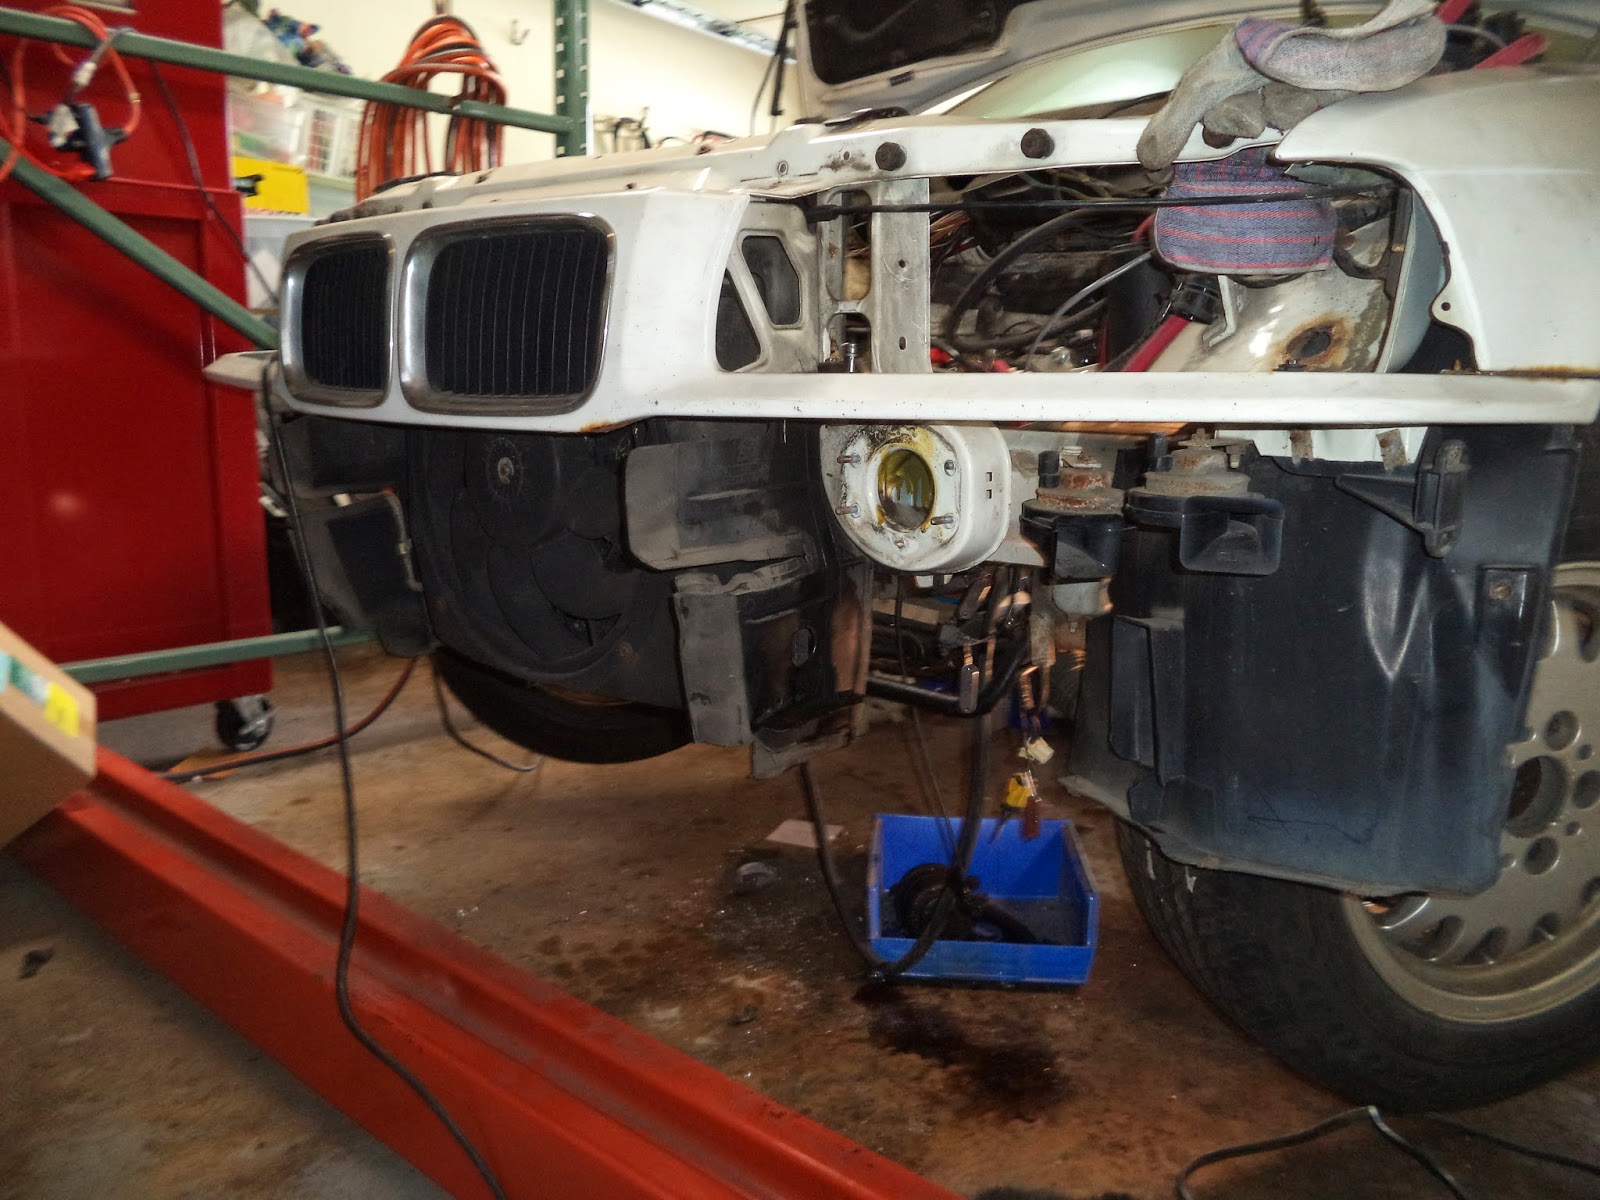
Picture DSC01113 showing the front end after removal of the bumper (picture DSC01112).

Picture DSC01112 of the separated front bumper.

Picture DSC01109 showing the hood latch (bottom) and the removal of one of two long screws that attach the AC condenser to the top of the grill housing.

Picture DSC01127 showing the AC condenser after its removal. The engine condenser had previously been removed.

Picture DSC01108 showing the removal of 3 x T30 torx screws. The hood latch could not be separated from the grill housing until 2 additional screws were removed to separate the front grill housing from the rear grill housing (picture DSC01138).

Picture DSC01138 showing that the front grill assembly (top) was partially separated from the rear grill housing (bottom) after the removal of 2 x 10 mm screws. The rusted block in the center is the left side (driver) hood release. The wire the exits to the top right terminates at the hood release lever within the cabin. The wire exiting to the lower left is connected to the right side hood release. Both either need to be rebuilt or replaced.

Picture DSC01139 showing the grill housing separated from the front of the BMW. The four holes in the lower round areas attach to welded studs attached to the frame (as seen in picture DSC01154 and DSC01155).

Picture DSC01154 showing the front view of the chassis after the complete removal of the bumper and the grill housing.

Picture DSC01155 showing the front on view of the motor compartment after the compete removal of the bumper and grill housing. It is now possible to walk into the motor compartment and work on all of the mechanical systems without either reaching over the radiator and grill or climbing into the motor compartment and crouching between the motor and the radiator. Much improved!!
No comments:
Post a Comment